It took a while to decide what I wanted to do with them, and Pietro's only real suggestion was "paint a whale on mine." But eventually I decided a very dark stain (with no whale as of yet). I wound up choosing a stain from Home Hardware that was stain & finish in one. I'm not sure I would do this again. It was the less expensive option but really, its a little strange. Application is done with a brush instead of a rag, and let me mention now - even if you think you have solvents for oil-based clean-up DOUBLE CHECK.
In a pinch though, dish soap CAN do the job, if far more slowly.

Now I should probably mention that I am not terribly patient about these projects. Ideally you would lightly test a small amount of stain in a not-too noticeable spot. I sort of did that, and then just went ahead and kept painting.
Also, I probably should have done all this before the drawers were installed. But I needed the storage while I decided what to do with these darn things, so I didn't. You could plan ahead though.

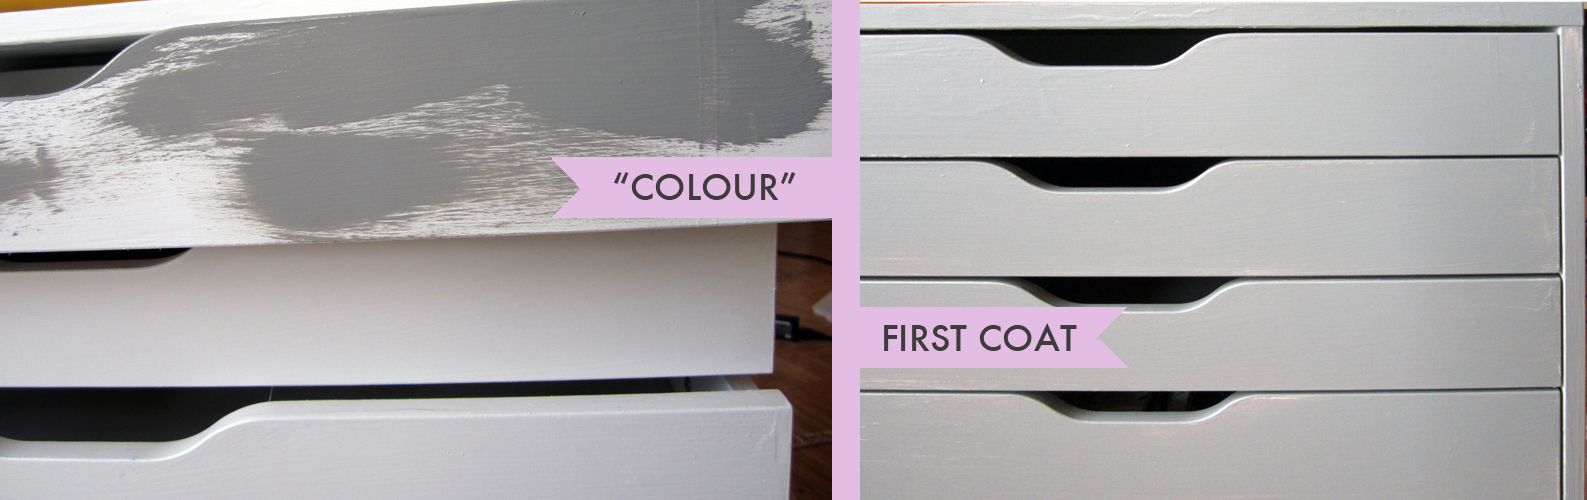
Here you see, 1st coat is finished, and yes one of the little knobs is missing. The wood split as I was screwing it in to place and I haven't glued it back together yet. I'm also considering getting new hardware altogether but really, that isn't happening soon.
At this point I had to take a break, it was getting late in the day and we had dinner plans to prepare for.

Day Two was beautiful! So rather than position myself directly beside my open balcony door as I had the day before, I actually dragged everything out there to continue my project.
I'd have to scrub the first coat of stain with steel wool to prepare for the second layer, and get started on the second set of drawers.


So I'm actually not finished with these guys yet, but again given the drying time required I brought them indoors and set the up. Partially because I don't have space to keep them anywhere else, and partially so I can see how the colour is progressing. I might do a third coat still, but I really doubt it.

If I remember (no promises) I will make a final post when they are both stained.